In MQTT you dont have to add a sensor widget from your dashboard.
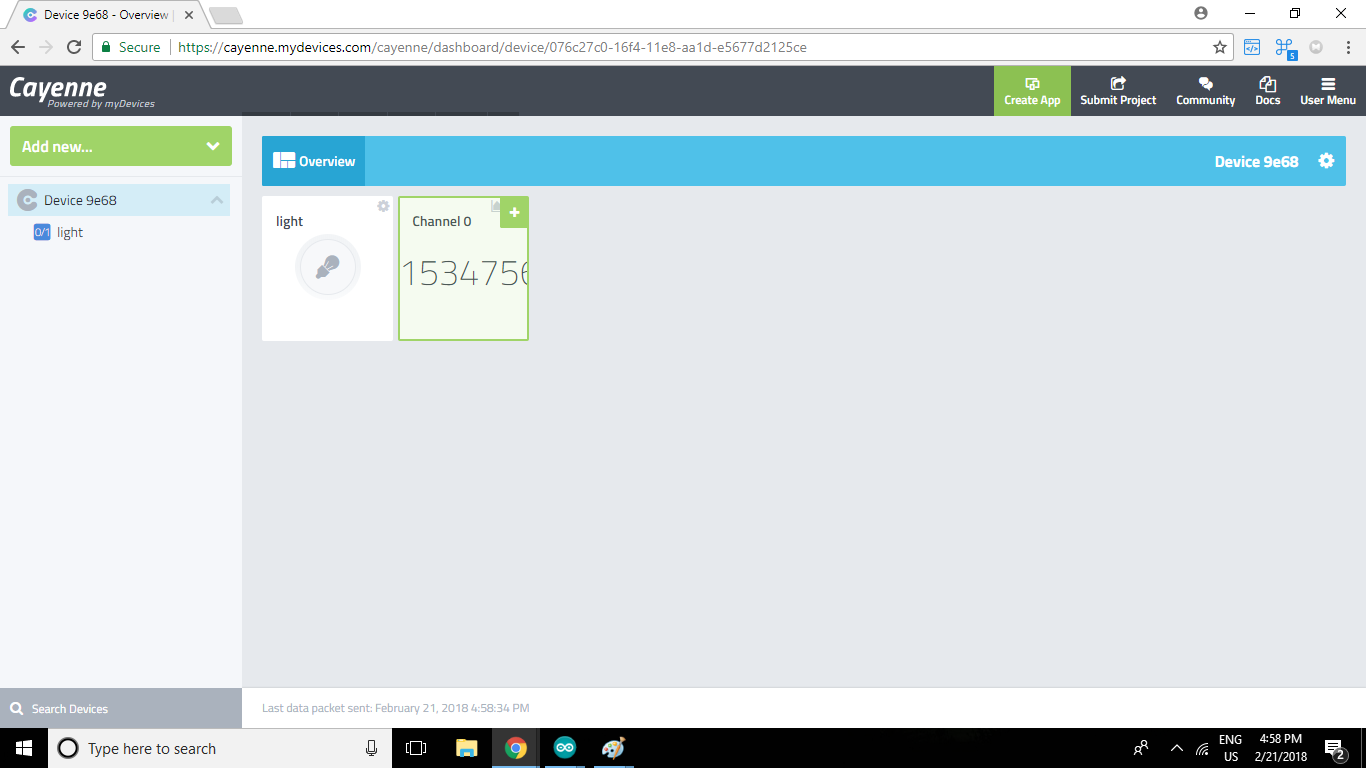
the dashboard is directly populated with widget when you publish/send data from the code.
in your example code have a look at this part:
  if (millis() - lastMillis > 10000) {
  	lastMillis = millis();
// Write data to Cayenne here. This example just sends the current uptime in milliseconds on virtual channel 0.
Cayenne.virtualWrite(0, millis());
// Some examples of other functions you can use to send data.
//Cayenne.celsiusWrite(1, 22.0);
//Cayenne.luxWrite(2, 700);
//Cayenne.virtualWrite(3, 50, TYPE_PROXIMITY, UNIT_CENTIMETER);
}
this publish/sends data to your dashboard to cayenne dashboard and creates the sensor widget.
Hello, thanks for your help. But where do I write that code? or where can I read that values?
I have tried to write the sketch that appears when put an actuator on the dasboard but when I upload the code using the arduino IDE the another relay connected and working correctly, stop working or my arduino connection get lost. All of this is new for me, I understand very well the electronic part (conection and all that) but the programming part is difficult to me and I don´t understand to much how can I still adding actuators without losing the code that has already loaded the Arduino and lose the connection.
with each relay added Do I have to upload the code in the arduino board?
are you able to connect to cayenne?
you dont need to generate code on dashboard. the code from example which you used to connect to cayenne needs to be modified and uploaded.
for reading actuator widget (channel 1) value, you need to add this code below in the example code.
CAYENNE_IN(1)
   {
   int x = getValue.asInt();
   Serial.println(x);
}
Yes I am able to connect to cayenne. But the first time it´s hard I guess.
I am a mexican and sometimes it´s hard to me to express my ideas in english. I think I couldn´t express correctly my last message.
I am going to still try.
Thank you for all your comments, they were very helpful.
I hope it works with the 3 actuators I need.
Sorry me again.
I have added one relay actuator, adding from the sketch that appears add new → device/widget → actoators → relay
I filled all details and clicked “step 1: sketch file”, then copy and paste on the IDE and uploaded it.
Then clickedc"step 2: add actuator" and it appeared and works correctly. But now, I want to add another relay, but I already followed the steps as they come in the cayenne documents, I already followed the steps you mentioned above, I keep doing tests and modifying the code and I can´t get the new relay to work.
Is there another way to add relays?
yes @adam , it worked !!. Now learning how to add actuators.
One thing that I couldn’t figure is that How many channels are there in ESP8266 nodeMCU ? and what are there corresponding names/numbers ?
Also by the tutorial , I was able to light up inbuilt LED(channel 0, as written) . For attaching more outputs , do I have to Upload modified code each time, (I have used cayenne very easily in my rpi where it was just to add via web ).
I am trying to send data from Wemos D1 R1 microcontroller according to the tutorial above, by using the sample-cayenemqtt-esp8266 method and have entered SSID, password, usermqtt, passmqtt, client id according to the steps in the tutorial, but when I entered I uploaded what happened was, the serial monitor on my arduino was blank and there was no writing at all. then I try to click the restart button on wemos d1 r1, the result is writing connecting to baras. then I re-check my cayenne device, and the result is the device on my cayenne is still in connect to board. and haven’t succeeded in creating each channel on the sensor. please give directions, sir
try this:- create a new device on cayenne dashboard- add new ---> devices/widget ----> microcontroller ---> arduino ---> next and you will get the screen showing MQTT credentials Copy the MQTT credentials into the code and upload.
Actually my problem is that the wemos d1 r1 that I use can’t yet display the cayenne dashboard (the display is still display for step 2 to enter the mqqtt usename, mqtt password, client id, ssid, and wifi password) even though I’ve already entered the usename mqqtt, mqtt password, client ID, SSID, and WiFi password correctly. following how it looks.